- Your cart is empty
- Continue Shopping
Homesteader's News
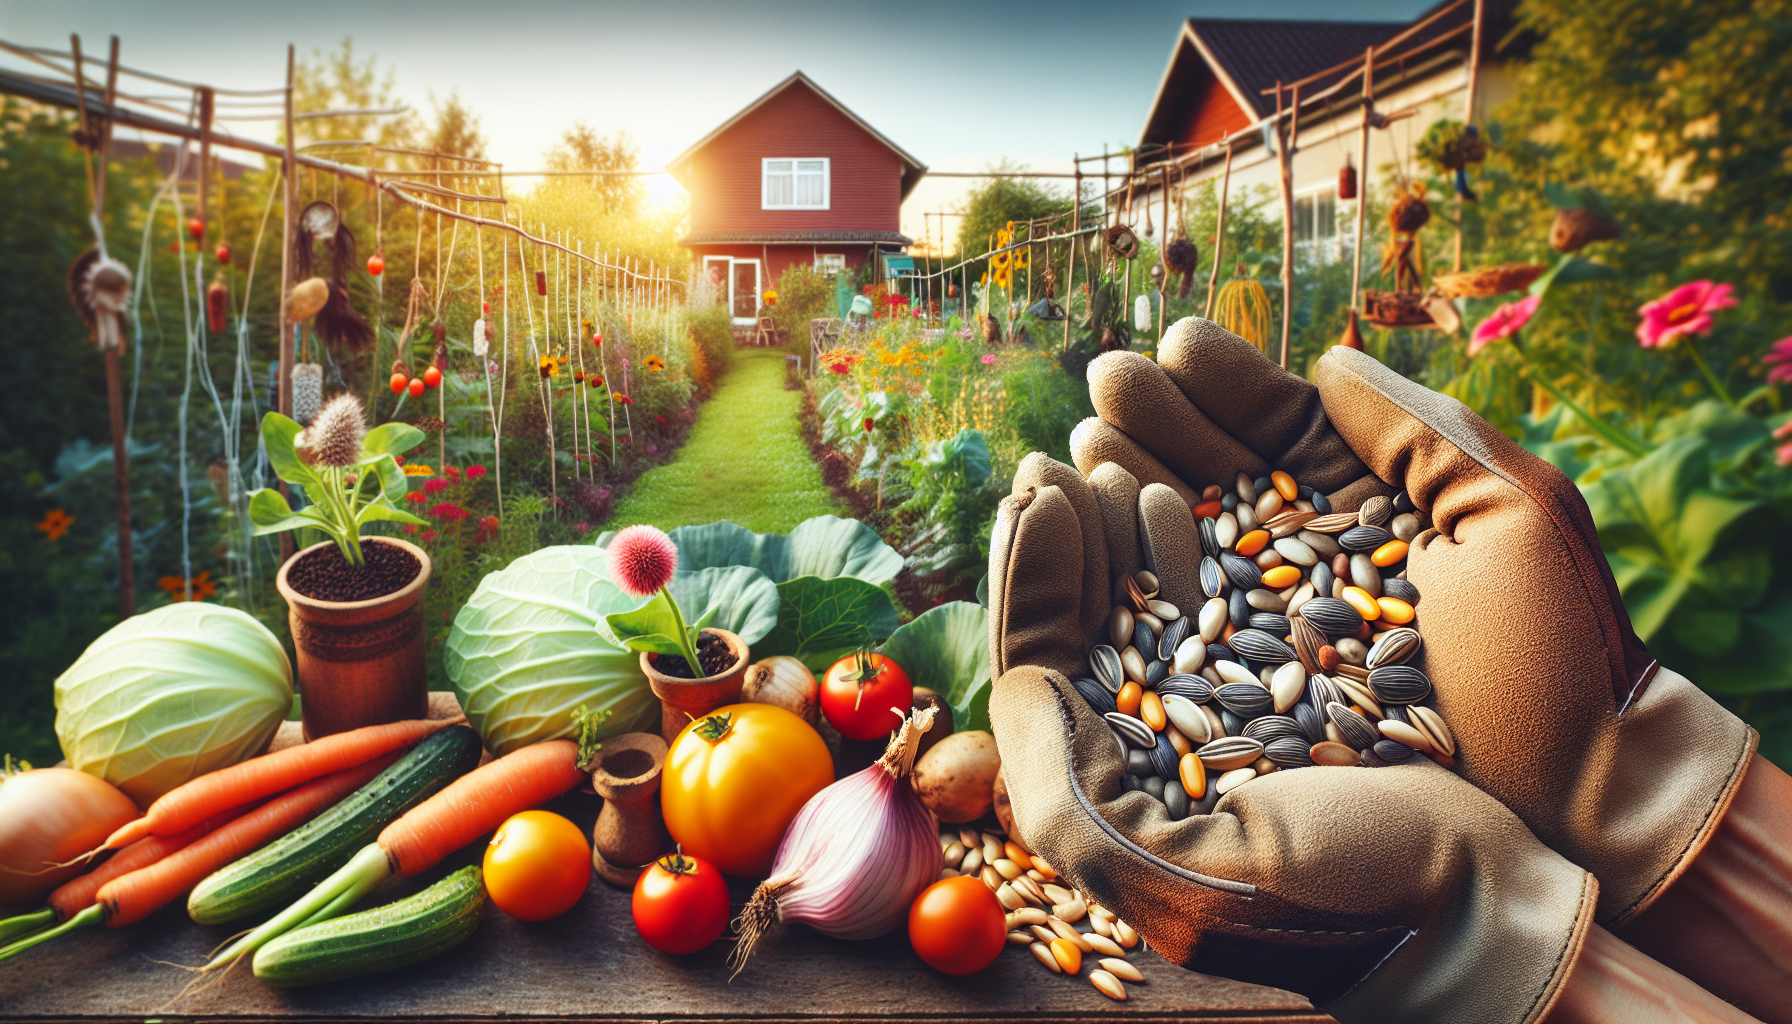
Unlock the Secrets of Self-Sufficient Seed Saving for Your Homestead
-
 By Homesteading Connection
 - Posted on
Unlock the Secrets of Self-Sufficient Seed Saving for Your Homestead
Imagine a garden where the seeds you sow each spring are descendants of the most resilient, flavorful, and productive plants from years past. This isn't just a romantic notion; it's the reality of seed saving, a cornerstone of self-sufficiency and a powerful tool for any homesteader looking to build a truly sustainable food system. Beyond the practical benefits of reducing reliance on external seed sources, seed saving connects you to the land and your food in a profoundly meaningful way. It's about understanding the life cycle of your plants, adapting them to your specific environment, and preserving genetic diversity for generations to come. Let's embark on a journey to discover the art and science of seed saving, empowering you to cultivate a garden that thrives on its own legacy.
Why Save Seeds? The Foundation of Homestead Independence
Before we delve into the "how," let's explore the "why." Seed saving offers a multitude of advantages that extend far beyond simply saving money. It's a strategic investment in your homestead's long-term health and resilience. By carefully selecting and saving seeds from your best-performing plants, you're essentially breeding crops that are perfectly adapted to your unique microclimate, soil conditions, and pest pressures. This process, known as "selection," leads to plants that are naturally more robust, productive, and resistant to diseases in your specific environment.
This concept of adaptation is crucial, especially in a changing climate. As weather patterns become more unpredictable, having a seed bank of locally adapted varieties can be a lifesaver. These plants have already proven their ability to thrive in your region's specific challenges, giving you a significant head start in the face of environmental uncertainty.
Beyond adaptation, seed saving plays a vital role in preserving biodiversity. Many heirloom varieties, with their unique flavors, colors, and nutritional profiles, are disappearing as commercial agriculture focuses on a limited number of standardized crops. By saving seeds from these heirloom plants, you're actively contributing to the conservation of valuable genetic resources, ensuring that future generations have access to a wider range of food options.
Furthermore, seed saving fosters a deeper connection with the natural world. It requires close observation of your plants, understanding their growth cycles, and learning about their reproductive processes. This intimate knowledge of your garden enhances your gardening skills and cultivates a sense of stewardship for the land.
Finally, there's the undeniable satisfaction of growing your own food from seeds that you've carefully nurtured and saved. It's a tangible expression of self-reliance and a testament to your ability to provide for yourself and your community.
Understanding the Basics: Plant Reproduction and Seed Types
To become a successful seed saver, it's essential to grasp the fundamentals of plant reproduction and the different types of seeds. Plants, like all living organisms, reproduce sexually, involving the transfer of genetic material from one plant to another. This process can occur through various mechanisms, including pollination by wind, insects, or other animals.
However, not all seeds are created equal. From a seed-saving perspective, we primarily distinguish between two main categories:
- Open-Pollinated (OP) Seeds: These seeds are produced through natural pollination, meaning they haven't been artificially crossed or hybridized. When you save seeds from open-pollinated plants, you can expect the offspring to closely resemble the parent plant, maintaining its desirable traits. Open-pollinated varieties are the cornerstone of seed saving because they allow you to build a stable, predictable seed line over time.
- Hybrid (F1) Seeds: Hybrid seeds are created by deliberately crossing two different parent plants, often resulting in vigorous and productive offspring. However, the seeds produced by hybrid plants will not breed true. This means that the offspring will exhibit a wide range of traits, and you won't be able to reliably reproduce the characteristics of the original hybrid plant. While hybrid plants can be useful for their specific qualities, they are not suitable for seed saving if your goal is to maintain a consistent variety.
Understanding the distinction between open-pollinated and hybrid seeds is crucial for making informed decisions about which seeds to save. Always choose open-pollinated varieties whenever possible to ensure that you can maintain a stable and predictable seed line.
Getting Started: Selecting the Right Plants and Varieties
The foundation of successful seed saving lies in carefully selecting the right plants and varieties. Not all plants are created equal, and some are simply better suited for seed saving than others. When choosing plants for seed saving, consider the following factors:
- Open-Pollinated Varieties: As mentioned earlier, always prioritize open-pollinated varieties. These seeds will breed true, allowing you to maintain a consistent seed line over time.
- Desirable Traits: Select plants that exhibit the traits you want to preserve and enhance in future generations. This could include disease resistance, pest resistance, high yield, exceptional flavor, unique color, or early maturity.
- Plant Health: Choose healthy, vigorous plants that are free from diseases and pests. Saving seeds from weak or unhealthy plants can perpetuate those problems in future generations.
- Maturity: Allow your plants to fully mature before harvesting seeds. Immature seeds may not germinate properly.
- Isolation: To prevent cross-pollination between different varieties of the same species, it's important to isolate your seed-saving plants. This can be achieved by physical barriers, such as row covers or greenhouses, or by spatial isolation, planting different varieties far apart from each other. The specific distance required for isolation varies depending on the plant species and the pollination method (wind, insect, etc.).
When selecting varieties for seed saving, consider your local climate and growing conditions. Choose varieties that have a proven track record of success in your area. Also, think about your personal preferences and the specific needs of your homestead. Do you need a tomato variety that's particularly resistant to blight? Or a bean variety that's well-suited for drying and storage?
Seed Saving Techniques: A Step-by-Step Guide
Now that you understand the basics of plant reproduction and seed selection, let's dive into the specific techniques for saving seeds from different types of plants. The process varies depending on the plant species and the type of fruit or vegetable it produces. Here's a comprehensive guide to seed saving techniques for some of the most common homestead crops:
Tomatoes
Tomatoes are relatively easy to save seeds from, but they require a fermentation process to remove the gelatinous coating around the seeds and prevent disease transmission. Here's how:
- Select ripe tomatoes: Choose fully ripe tomatoes from your best-performing plants.
- Scoop out the seeds and pulp: Scoop out the seeds and surrounding pulp into a jar or container.
- Add a little water: Add a small amount of water to the jar, just enough to cover the seeds and pulp.
- Ferment for several days: Cover the jar loosely and let it sit at room temperature for 3-4 days, stirring occasionally. A layer of mold will form on top, and the seeds will sink to the bottom.
- Rinse and dry: Pour off the moldy liquid and rinse the seeds thoroughly with clean water. Spread the seeds out on a screen or coffee filter to dry completely.
- Store in a cool, dry place: Once the seeds are dry, store them in an airtight container in a cool, dry place.
Beans and Peas
Beans and peas are self-pollinating, making them relatively easy to save seeds from. Here's how:
- Allow pods to dry on the plant: Let the bean or pea pods dry completely on the plant until they are brittle and brown.
- Harvest the pods: Harvest the dried pods and shell the beans or peas.
- Dry the seeds further: Spread the seeds out on a screen or coffee filter to dry further for a week or two.
- Store in a cool, dry place: Store the dried seeds in an airtight container in a cool, dry place.
Peppers
Peppers are generally self-pollinating, but cross-pollination can occur, especially if you're growing multiple varieties close together. To ensure true-to-type seeds, you may need to isolate your pepper plants. Here's how to save pepper seeds:
- Allow peppers to fully ripen: Let the peppers fully ripen on the plant until they change color.
- Remove the seeds: Cut open the peppers and remove the seeds.
- Dry the seeds: Spread the seeds out on a screen or coffee filter to dry completely.
- Store in a cool, dry place: Store the dried seeds in an airtight container in a cool, dry place.
Squash, Pumpkins, and Cucumbers
Squash, pumpkins, and cucumbers are insect-pollinated, making them prone to cross-pollination. To ensure true-to-type seeds, you'll need to hand-pollinate your plants or isolate them using row covers. Here's how to save seeds from these crops:
- Allow fruits to fully ripen: Let the fruits fully ripen on the vine until they are mature and the skin is hard.
- Scoop out the seeds: Cut open the fruits and scoop out the seeds.
- Ferment the seeds (optional): For squash and cucumbers, you can ferment the seeds for a few days to remove the pulp and improve germination. Follow the same fermentation process as for tomatoes.
- Rinse and dry: Rinse the seeds thoroughly with clean water. Spread the seeds out on a screen or coffee filter to dry completely.
- Store in a cool, dry place: Store the dried seeds in an airtight container in a cool, dry place.
Lettuce
Lettuce is typically self-pollinating, but cross-pollination can occur. To ensure true-to-type seeds, you may need to isolate your lettuce plants. Here's how to save lettuce seeds:
- Allow plants to bolt: Let a few lettuce plants bolt, meaning they send up a flower stalk.
- Harvest the seed heads: Once the seed heads are dry and fluffy, harvest them.
- Thresh the seeds: Rub the seed heads between your hands or on a screen to release the seeds.
- Winnow the seeds: Use a fan or gentle breeze to blow away the chaff and debris.
- Store in a cool, dry place: Store the cleaned seeds in an airtight container in a cool, dry place.
Seed Cleaning and Drying: Essential Steps for Longevity
Proper seed cleaning and drying are crucial for ensuring the longevity and viability of your saved seeds. Cleaning removes any debris, pulp, or other materials that can harbor diseases or attract pests. Drying reduces the moisture content of the seeds, preventing mold growth and extending their shelf life.
Here are some tips for cleaning and drying your seeds:
- Remove all debris: Carefully remove any remaining pulp, stems, or other debris from the seeds.
- Wash the seeds (if necessary): If the seeds are covered in pulp or sap, wash them gently with clean water.
- Dry the seeds thoroughly: Spread the seeds out in a thin layer on a screen or coffee filter in a well-ventilated area. Avoid direct sunlight or high temperatures, which can damage the seeds.
- Test for dryness: The seeds should be completely dry to the touch before storing. You can test for dryness by bending a seed. If it snaps, it's dry enough. If it bends, it needs more drying time.
Seed Storage: Protecting Your Investment
Proper seed storage is essential for preserving the viability of your saved seeds. Seeds are living organisms that slowly deteriorate over time, especially if they are exposed to moisture, heat, or light. To maximize the shelf life of your seeds, follow these storage guidelines:
- Use airtight containers: Store your seeds in airtight containers, such as glass jars or plastic bags.
- Add desiccant: Add a desiccant, such as silica gel packets or rice, to the container to absorb any excess moisture.
- Store in a cool, dry place: Store the containers in a cool, dry place, such as a refrigerator or freezer.
- Label your containers: Label each container with the name of the variety, the date of harvest, and any other relevant information.
- Monitor your seeds: Check your seeds periodically for signs of moisture or pest damage.
Germination Testing: Ensuring Seed Viability
Before planting your saved seeds, it's a good idea to perform a germination test to assess their viability. This will help you avoid wasting time and resources on seeds that are unlikely to sprout. Here's how to conduct a simple germination test:
- Select a representative sample: Choose a random sample of 10-20 seeds from the batch you want to test.
- Moisten a paper towel: Moisten a paper towel with water and squeeze out any excess.
- Place the seeds on the towel: Place the seeds on the moist paper towel, spacing them evenly apart.
- Roll up the towel: Roll up the paper towel and place it in a plastic bag or container to keep it moist.
- Store in a warm place: Store the bag or container in a warm place, such as a windowsill or a seedling heat mat.
- Check for germination: Check the seeds daily for germination. Most seeds will germinate within a few days to a week.
- Calculate the germination rate: Count the number of seeds that have germinated and divide it by the total number of seeds tested. This will give you the germination rate.
A high germination rate indicates that the seeds are viable and likely to sprout successfully. A low germination rate suggests that the seeds may be old or damaged and may not be worth planting.
Overcoming Challenges: Troubleshooting Common Seed Saving Problems
Seed saving can be a rewarding experience, but it's not without its challenges. Here are some common problems that seed savers may encounter and how to overcome them:
- Cross-Pollination: Cross-pollination can result in seeds that don't breed true. To prevent cross-pollination, isolate your seed-saving plants using physical barriers or spatial isolation.
- Low Germination Rates: Low germination rates can be caused by a variety of factors, including old seeds, improper storage, or seed damage. To improve germination rates, use fresh seeds, store them properly, and avoid damaging them during cleaning and drying.
- Seed-Borne Diseases: Seed-borne diseases can be transmitted from the parent plant to the offspring. To prevent seed-borne diseases, select healthy, disease-free plants for seed saving and treat the seeds with a fungicide if necessary.
- Pest Damage: Pests can damage seeds during storage. To prevent pest damage, store your seeds in airtight containers and add a desiccant to absorb any excess moisture.
Expanding Your Knowledge: Resources for Seed Savers
Seed saving is a lifelong learning journey. There are many valuable resources available to help you expand your knowledge and improve your skills. Here are a few recommendations:
- Seed Savers Exchange: The Seed Savers Exchange is a non-profit organization dedicated to preserving and sharing heirloom seeds. They offer a wealth of information on seed saving techniques, variety descriptions, and a seed exchange program.
- Local Seed Libraries: Seed libraries are community-based organizations that allow members to borrow seeds and return seeds from their own gardens. They are a great way to access a wide variety of seeds and learn from other gardeners in your area.
- Books and Websites: There are many excellent books and websites dedicated to seed saving. Some recommended titles include "Seed to Seed" by Suzanne Ashworth and "The Complete Guide to Saving Seeds" by Robert Gough and Cheryl Moore-Gough.
By embracing the art and science of seed saving, you're not just growing food; you're cultivating a legacy of self-reliance, resilience, and biodiversity. It's a journey that connects you to the land, your ancestors, and the future of food. So, get out there, start saving seeds, and watch your garden thrive!
The journey of seed saving is more than just a practical skill; it's a deep dive into the cycle of life, the resilience of nature, and the enduring power of self-sufficiency. It's about taking control of your food supply, adapting to your environment, and contributing to a more sustainable future. As you embark on this rewarding endeavor, remember that every seed saved is a seed of hope, a seed of independence, and a seed of connection to the land.